It’s time to replace your brake pads. But, you’re not sure if you want to take it on as a DIY project. Don’t worry, there are many step by step guides online that have got you covered. In this guide, we will give you an overview of how to safely change your brake pads yourself without having to go to a mechanic. Be sure to check your car’s owner manual for specific instructions on replacing your brake pads as well as what type of brake pads are best for your car model. You will need to purchase the correct replacement brake pads before starting the job.
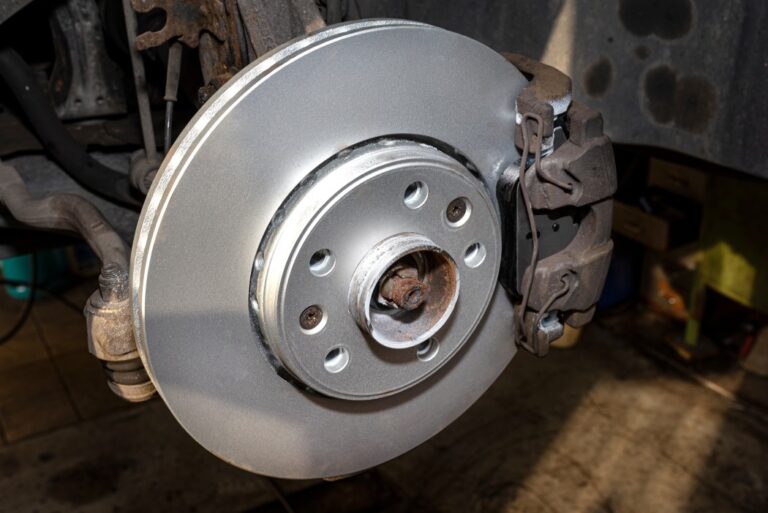
When it comes to braking, there are several components that work together to bring your car to a stop. The brake pads sit on the rotor and apply pressure when you step on the brake pedal. This pressure creates friction which slows the car down. The calipers squeeze the brake pads against the rotor, creating more friction and stopping the car even faster. The calipers are attached to the brake pads with pins or bolts. So you can see, your brake pads need to be in good working order to ensure your brakes operate at their optimal level which is, arguably, the most important function of your car from a safety standpoint.
With the right tools and instructions, changing your own brake pads is a relatively simple task that most anyone can do. In the age of Youtube, it is always advised to watch tutorials for each component of your automotive project if you are not a pro. And there are many options on Youtube! All you need are the right parts and guidance and you can do many things yourself. So, whether your brakes are making noise or you know your pads need to be replaced for preventive maintenance, follow one of the many guides available to you and get the job done in no time!
Changing your brake pads is a job that may be done by a non-professional with the right instructions and tools. The steps to changing brake pads start with setting up blocks behind the wheels to keep the vehicle from rolling, enabling the parking brake, loosening the car’s lug nuts, and propping the car up with a jack to immobilize it to be worked on securely.
Then it’s time to remove the wheel. Remove the lug nuts, double check that the lug nuts are loose and pull the wheel away. Replace each brake pad, wheel, and components before moving on, the jack should only be set up on designated areas of the vehicle at any given time to reduce the instance of damage to the body.
Next, remove the caliper. First, ensure it isn’t hot, loosen the bolts and rest the caliper on the suspension or tie it up. Replace the brake pads on each wheel before reattaching each part, making sure you do it in the right order and securing your wheels again before removing the jack from your car and setting it back on the ground, good as new.
If you’re feeling confident enough to take on the task of replacing your vehicle’s brake pads on your own, great! Be sure to have a friend help you out, find a good set of instructions and/or a step by step video to dive in deeper to each step mentioned above, equip yourself with the right tools, and follow all safety precautions before getting started and at each stage of the project. Once you’ve got the job done, sit back and enjoy the satisfaction of knowing you did it yourself!

